Changed in breve 2.0
The methods used for lightmapping have been changed from breve 1.x, so pay close attention to this section if you're updating your simulation from a previous version of breve.
Lightmaps use
textures to make objects glow transparently. An image from the included
ParticleFountain demo is shown below.
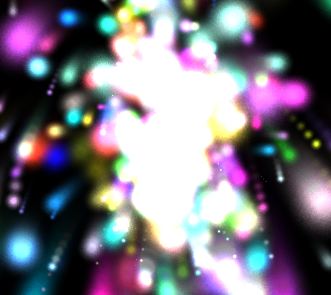
The first step in applying a lightmap to an object is loading in a texture from an image file. Instructions for loading image files for lightmapping are given in Loading Image Files the section called “Loading Image Files”. Once the image has been loaded, lightmapping can be done by passing the image to the method set-lightmap-image for any Real object.
Lightmapping will work with any image, but looks best with spherical images which taper off around the edges. Two images that work well as lightmaps are included with breve. The files are included in the classes directory and are available as "images/lightmap.png" and "images/dirtylightmap.png".
As mentioned in Displaying Objects as Bitmaps the section called “Displaying Objects as Bitmaps”, loading multiple instances of the same lightmap image will be expensive in terms of both memory and performance, so if you're using the same lightmap on many agents, you should reuse the same Image object. An example of this is shown in the section called “Displaying Objects as Bitmaps”.