To install
the breve application under Mac OS X, simply drag the application
(breve.app) into your /Applications folder (or to any other folder where
you wish to put the program).
To get started with breve, simply double-click the breve application.
If you're new to breve, the first thing to do is run one of the demo
simulations provided with the application. To open a demo file, use the
Demo menu in the breve application.
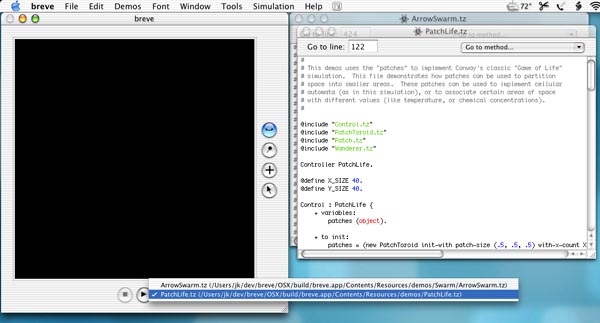
After selecting a demo, a window is opened showing the simulation code. By pushing the play button, you start the simulation. The simulation can then be paused or stop by using the corresponding buttons below the simulation display.
If multiple code windows are open, you can select the simulation to start by using the popup menu located at the bottom of the simulation window.
On the bottom of the simulation window is a small palette of tools.
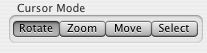
The first tool is the rotation tool. Use it to rotate the simulation view. The focal point of the simulation will remain the same, while the viewing angle is changed.
The next tool is the zoom tool. Use this tool to zoom in and out. As with the rotation tool, the focal point of the simulation stays the same.
The third tool is the motion tool, used to change the focal point of the simulation.
The final tool, the selection and motion tool, is used to select objects in the simulation. Once selected, an object can be inspected using the selection inspector window (described in the section called “The Selection Inspector”), or dragged around the simulation.
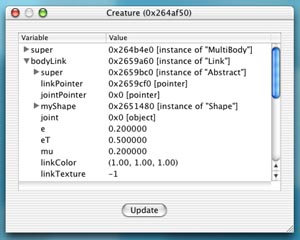
The "selection inspector" allows simulation objects to be inspected in real-time, as simulations run. If no object is selected in the simulation display, the controller object is shown in the selection window—when an object is selected, its state is shown in the inspector.
The inspector automatically updates every few seconds so that the current state of simulation variables is always shown.
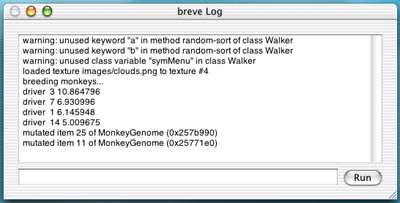
Text messages and output from the simulation are printed to the log window.
The log window also contains a command-input field. This field allows you to execute commands in running simulations. "steve" commands can be written directly into this field, and will be executed in the simulation's controller object. The steve language (and the controller object) are described in the next chapter (the section called “Writing breve Simulations With "steve"”).
Users can also interact with a running simulation via the simulation menu, located in the menu bar, or by accessing contextual menus associated with objects in a simulation. To access a contextual menu for an object in the simulation, control-click on the object in the simulation display.
By default, the simulation menu and contextual menus are mostly empty. As you begin to customize simulations and construct your own, however, you will be able to add your own custom options to the simulation and contextual menus.